Installing Nethunter on Android Part 1 Overview Installation
2025-02-28
KBS
SecurityWeb DevelopmentLinuxNetworkingAI/ML
Properly installing and configuring Kali Nethunter on an android-based mobile device might seem easy at first. Installing the NH store as well as the various applications it offers, after all, is a piece of cake—even on a device that isn’t rooted. The unfortunate reality is a lot of the functionality offered by Nethunter requires a lot more effort than installing a few APK files. In most cases, it’ll be necessary to unlock the bootloader, install custom recovery, root the device, flash a custom kernel, flash a kali chroot specific to your device’s architecture + wireless firmware, disable verity & force-encrypt, and tweak a handful of configurations on the command line.
This post offers insight into that process. It’s not really a tutorial as each and every android device is different, and the truth is your mileage will vary based on the hardware found within your device. It is written in a noob-friendly way. Think of it as a guide to reference. The goal is to understand the bigger picture and clear up some common mistakes. I’ll be using the hardware below in this post. Part 2 will go into the nitty-gritty details of compiling a Wi-Fi driver with custom kernel headers.
Hardware
Make / Model
Chipset
Driver
Mobile Device
Google Pixel 4a / Sunfish
Snapdragon 730G SoC
(built-in)
External Wi-Fi
Alfa AWUS036NHA
Atheros AR9271
ATH9K_HTC
External Wi-Fi
Linksys WUSB6300 V2
Realtek RTL8812BU
88x2bu
USB-C OTG Y-Cable
Anker Powerline+
—
—
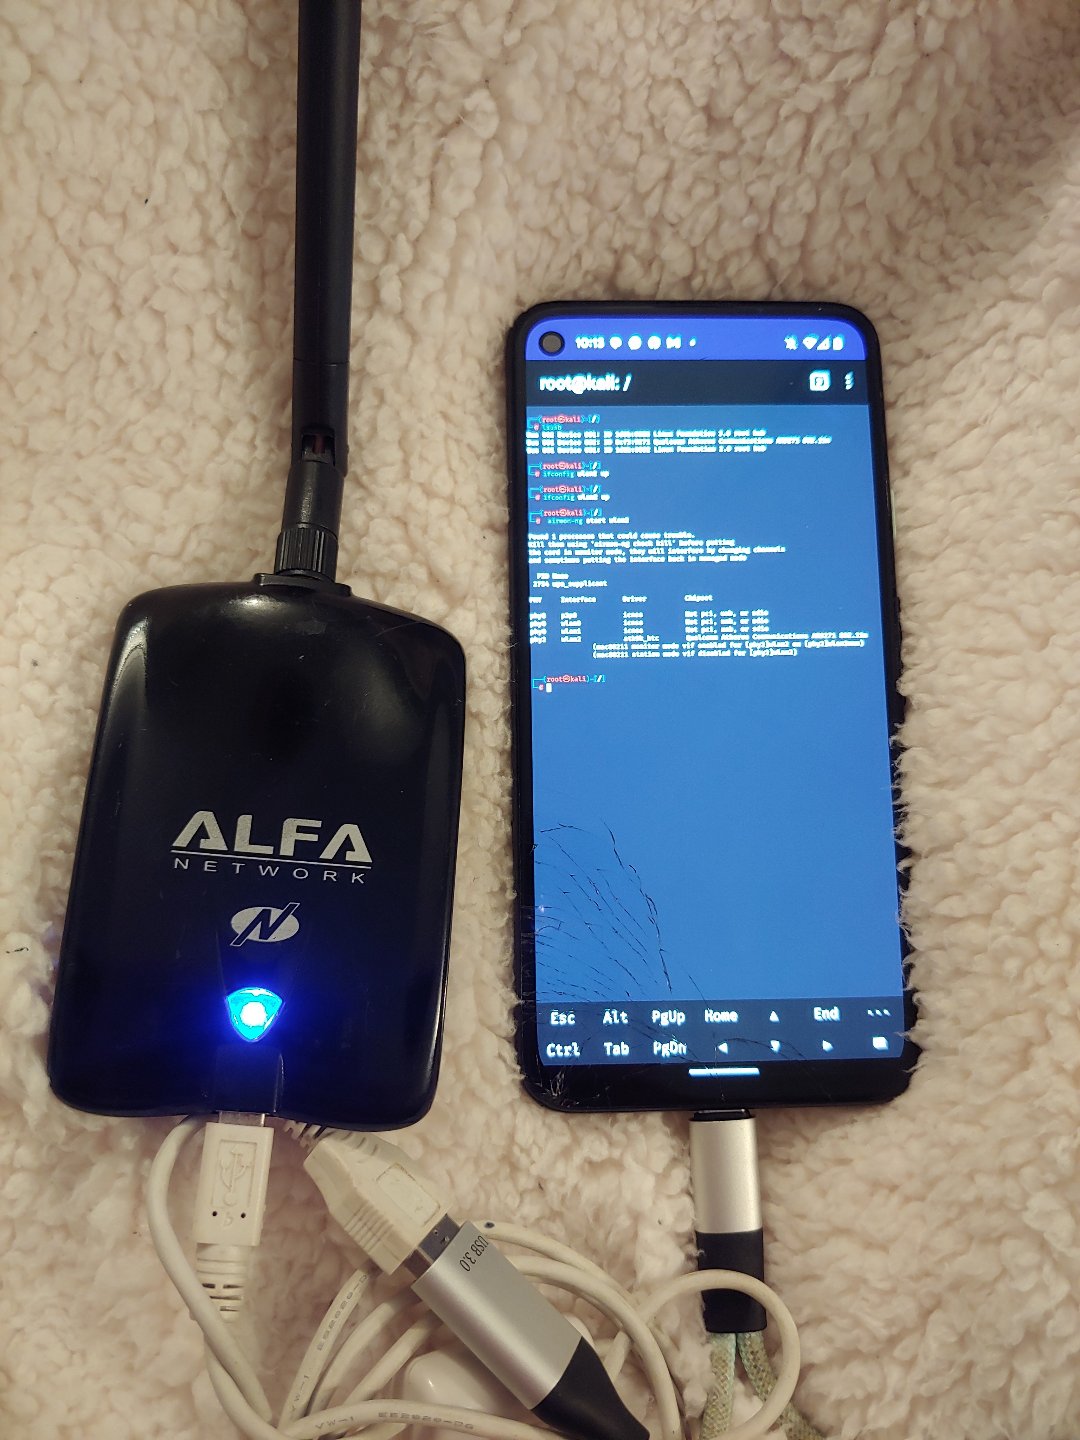
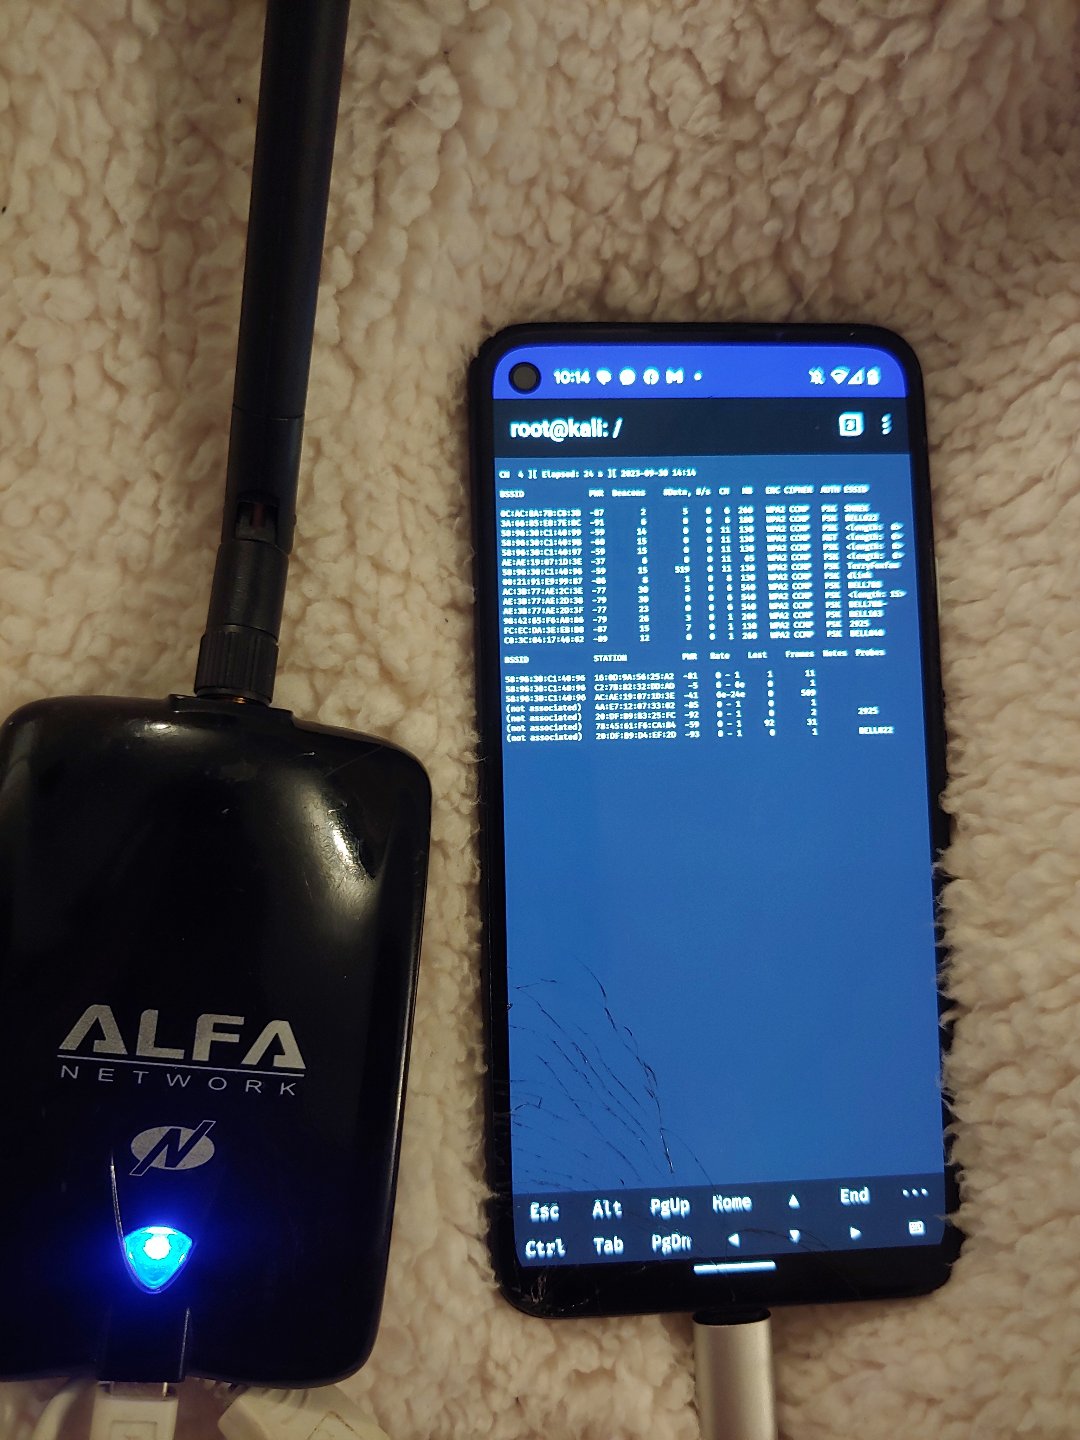
The end game should look something like this:
Alfa adapter in monitor-mode testAirodump-ng capture in progress
III. Termux CLI
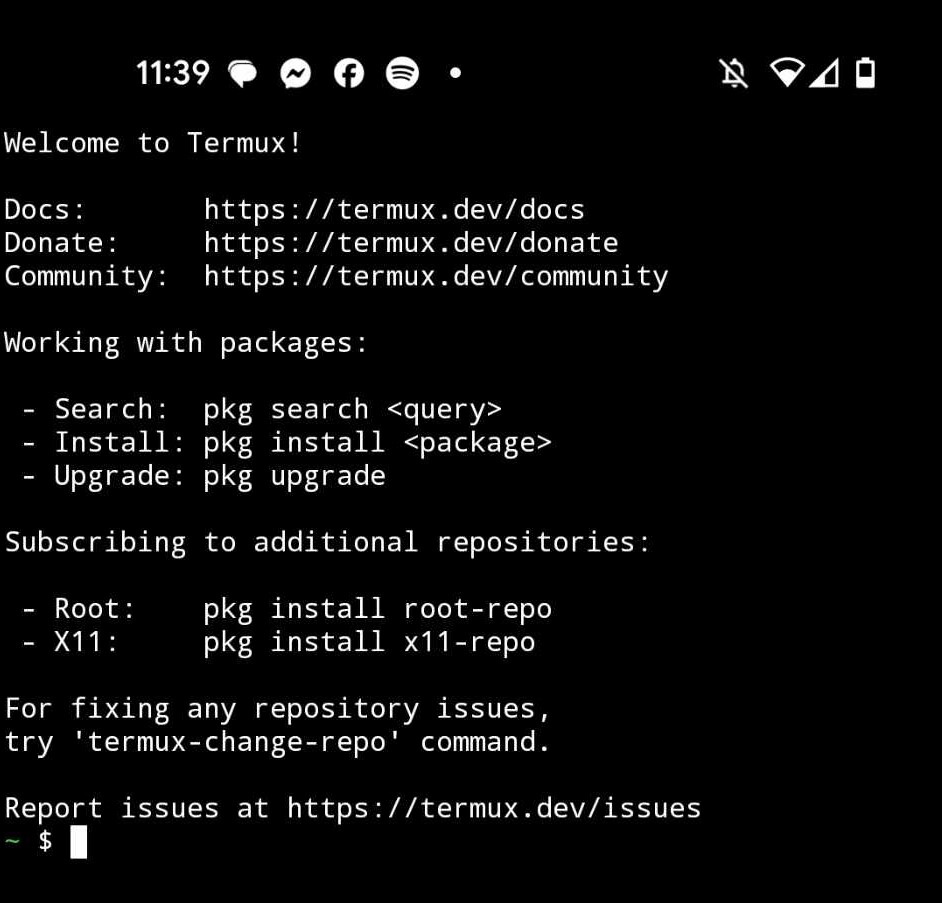
You’ll notice both apt and apt-get work in Termux, but sticking to the pkg wrapper keeps things cleaner and prevents mixed-repo headaches. My two cents.
Run a quick hardware scout:
getprop ro.product.cpu.abi
arm64-v8a        # CPU architecture

getprop ro.product.name
sunfish          # Product code-name

getprop ro.build.version.release
12               # Android version
Armed with that info, let’s prep the device itself.
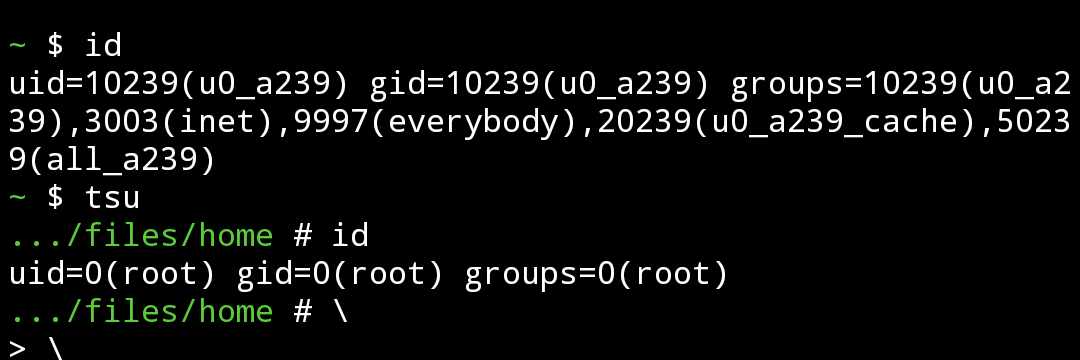
IV. UID
Flashing a Custom Kernel
Stock Pixel kernels lack drivers like ATH9K_HTC and 88x2bu. Flashing Alynx12’s kernel adds:
USB OTG charge-through quirks fixed
Monitor mode & injection for AR9271 / RTL88xx
WireGuard, full iptables, HID gadget patches
Back in TWRP:
adb sideload Alynx12_Pixel4a_kernel.zip
Reboot system again; root and dm-verity stay intact.
Installing the Kali RootFS (chroot)
The NetHunter Store offers a GUI installer, but manual flashing guarantees the proper architecture.
Boot to TWRP.
System → Mount / data.
ADB Push the Kali tarball:
adb push kali-arm64.tar.xz /data/local/tmp/
In TWRP’s Terminal:
mkdir -p /data/local/kali
tar -xJf /data/local/tmp/kali-arm64.tar.xz -C /data/local/kali
Still in Terminal, bind-mount essentials so the rootfs can reach Android’s kernel interfaces:
mount -o bind /dev /data/local/kali/dev
mount -o bind /proc /data/local/kali/proc
mount -o bind /sys /data/local/kali/sys
Chroot in:
chroot /data/local/kali /bin/bash
If you see root@kali-arm64:~#—mission accomplished. Update & install NetHunter meta-packages:
Plug the Alfa NHA into the powered OTG Y-cable—your phone battery will thank you. In Termux (with su):
dmesg | tail
ip link set wlan1 up
airmon-ng start wlan1
airodump-ng wlan1mon
You should see channel-hopping and beacons. Repeat for the RTL8812BU after modprobe 88x2bu. If the Realtek dongle fails, confirm the kernel module loaded:
lsmod | grep 88x2bu
NetHunter Extras
NetHunter-Kex: full XFCE desktop via VNC—install with apt install kali-win-kex.
BadUSB: emulate network adapters for reverse shells.
USB-OTG Y-Cable Tweaks: enable Disable USB charging in Developer Options to avoid power-draw brown-outs during heavy packet injection.
Common Pitfalls
Bootloops after flashing Magisk → Forgot to disable verity & force-encrypt. Re-flash Disable_DmVerity.
No Wi-Fi dongle power → Cheap OTG cable; use a powered hub or Y-cable.
Chroot segfaults → Wrong rootfs architecture. Re-download the correct kali-arm64 or kali-armhf.
Magisk app hidden after reboot → Enable Zygisk inside Magisk, then Re-install Magisk app from settings. Pixel 4a sometimes hides the stub.
Legal & Ethical Reminder
If you stick antennas and Alfa stickers on your phone, congratulations—people will assume you’re the villain in a hacker movie. Only audit networks you own or have explicit written permission to test. Unauthorized interception of traffic is illegal in most jurisdictions. Logs live forever; don’t give future-you a courtroom headache.
Conclusion
With an unlocked bootloader, TWRP recovery, Magisk root, a hardened custom kernel, and the Kali chroot in place, your Android has gone full-send from consumer gadget to pocket-sized penetration-testing workhorse. Part 2 will dive into compiling Wi-Fi drivers against your own kernel headers, enabling SDR on the Pixel’s USB-C port, and automating NetHunter updates via Termux-API scripts. Stay tuned—and hack responsibly.