DIY - HorizonTech Sakerz Easy Glass Replacement
2025-12-22
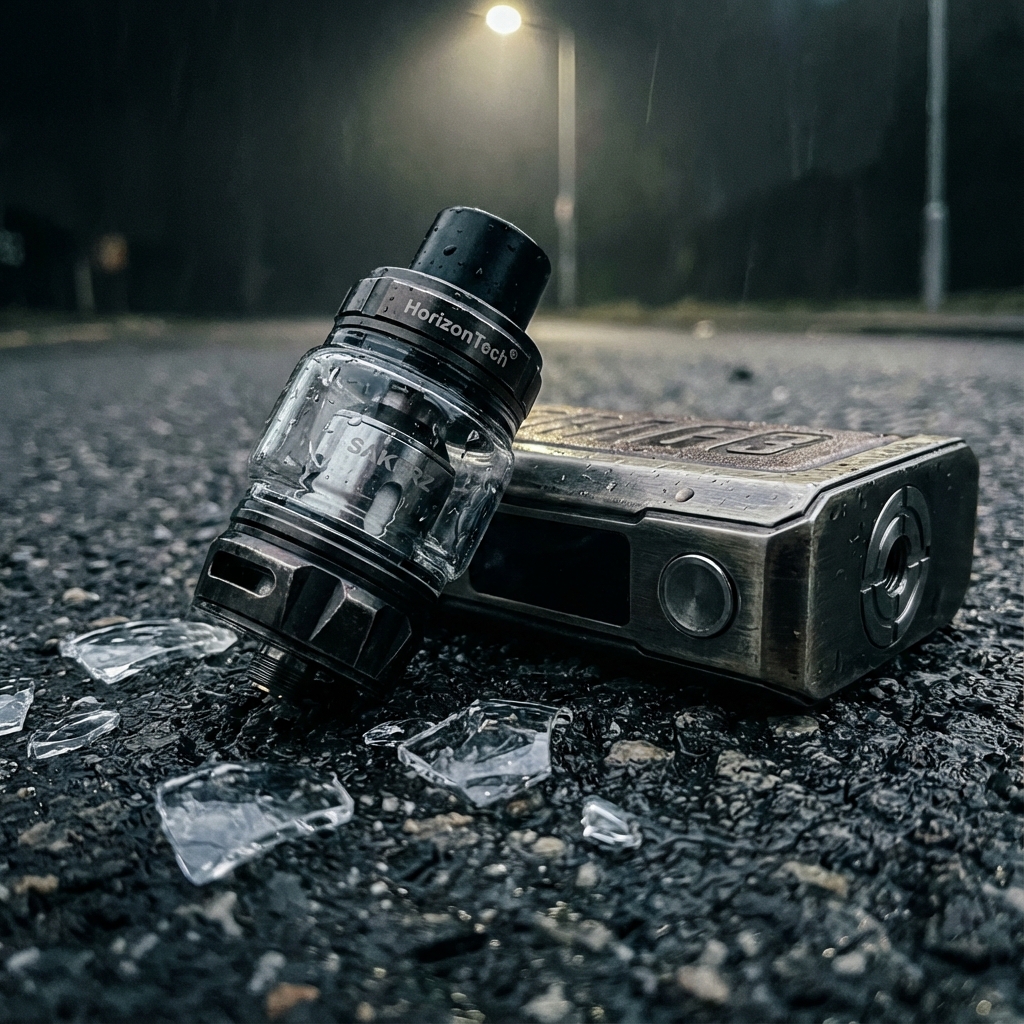
It's a Sunday night, already in a rush and sure enough I accidentally dropped my Voopoo Drag 3 mod with the HorizonTech Sakerz tank attached. The glass shattered loudly as I was getting out of my car as I forgot I had it on my lap. 99 out of 100 times this would be a non-issue and the unit itself would hit the ground. But in this particular situation, it mustve hit the ground at the perfect angle to shatter the glass. No vape shops in town had replacements readily available, and being Sunday most shops would be closed within the hour anyway.
I thought I had a spare glass piece in a bin at home, so I headed back only to realize the glass I had was for a different tank. Go figure.. I'm kindof tired of paying ~$20 for a pack of cigarettes. So with all this, I began to think of potential solutions.
Technical Background (Chemistry & Electronics)
The theory behind how an electronic cigarette works - or rather how the batteries fire the heating unit (atomizer) is essentially the same across all units and very basic from an eletrical standpoint (not considering circuit safety measures, something handled in the internal e-cigarette circuitry and not something that in this case was of concern). For instance, I've fired atomizers off using the 12V inverter in my car which outputs ~5V for use with USB by cutting the device end of the USB cable,identifying the two power wires, stripping them and applying to the atomizer directly. I've done this in various scenarios where I need to charge something but have the wrong usb cable.
So I've got a lot of chemistry glassware with female 24/40 ends (pictured). These ends were just a little too small for the sakerz tank though, but the initial plan was to possibly complete the seal this way, solder the wires to the base of the tank - however I quickly realized this would not only be a semi-permanent mod that would require bypassing some safety features for instance: In order to complete the circuit from the battery to the atomizer (actuaed via the fire button), the base of the atomizer must be pushed down about 1/8th of an inch at the base of the tank and this happens when the tank is screwed in place.
Without straying too much - this means you cant just place your finger into the unit and press the fire button and get a shock. It essentially ensures the unit is screwed together before the button even operates. Bypassing safety measures like this is a bit reckless, plus i can just get some glass tomorrow so - that idea got tossed.
That's when I took notice of some plastic bottles in my room - specifically the neck. The diameter is definitely close to what I need. Plastic is maleable if heat is applied and I figured why not give this a try.
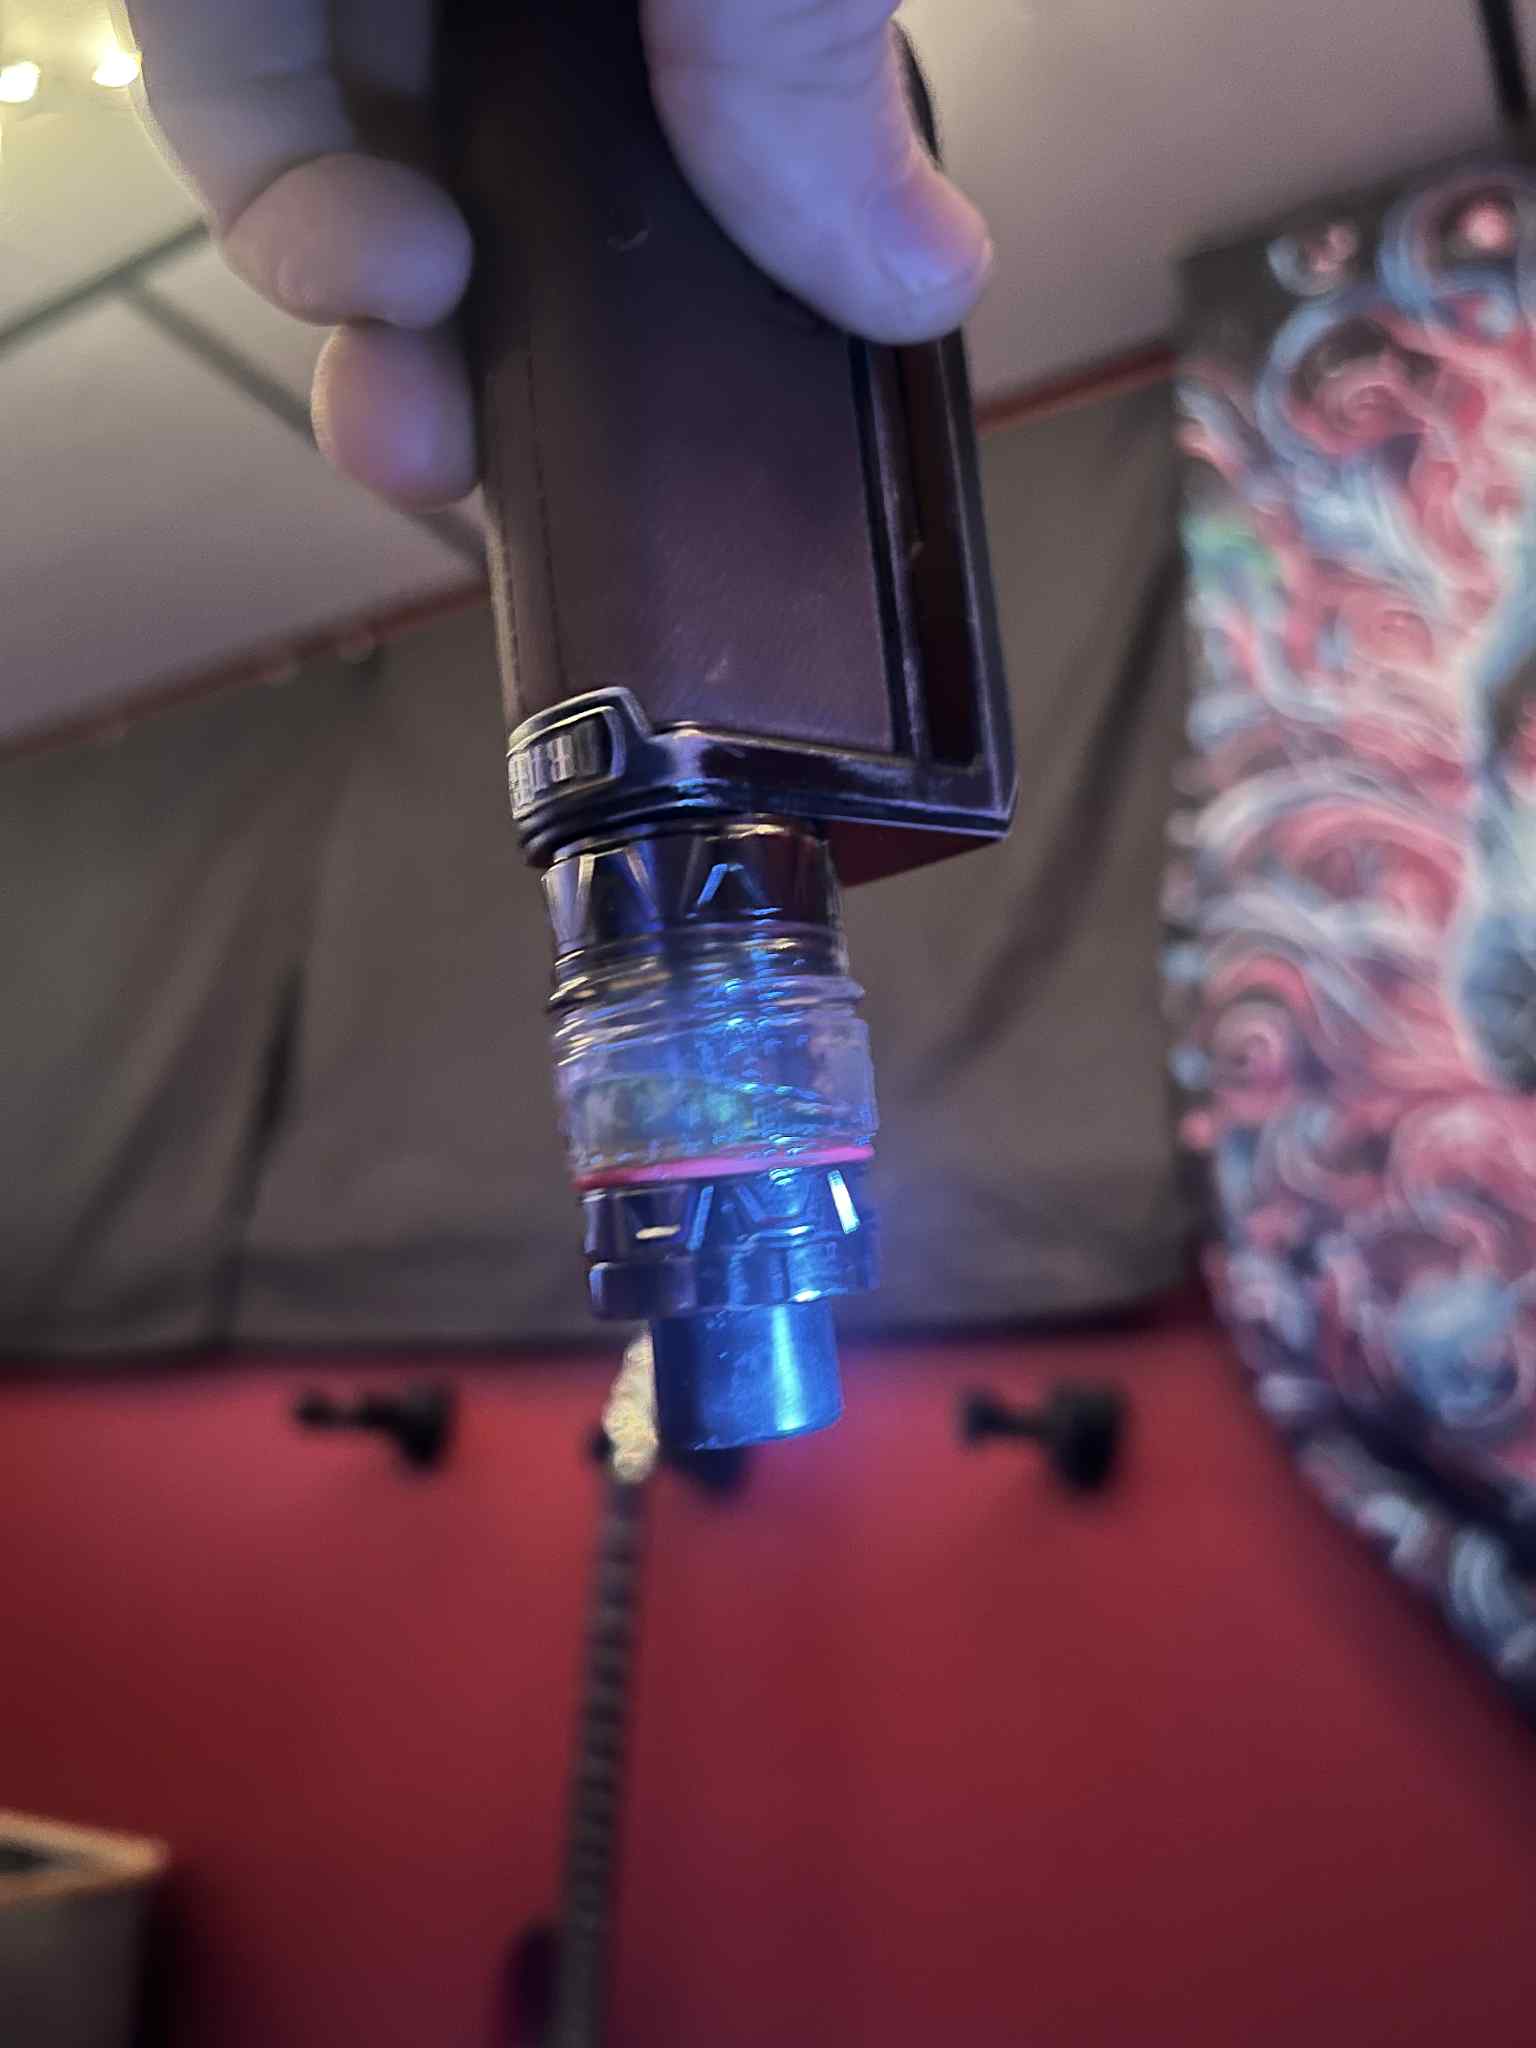
I cut off the top inch or so of the bottle neck and use it as a makeshift replacement for the broken glass tube. It turned out to be surprisingly easy to do by eye on the first try, and the grooves in the bottle neck provided an almost too perfect fit for the tank's structure. The result? A leak-proof fix that works like a charm, with the only downside being the tank capacity reduced from 5ml to about 3ml.
The DIY Process
-
Prepare the Tank: First, disassemble your Sakerz tank. Disconnect the bottom end to
expose the area where the glass sits. Note that the tank is slightly slimmer at the bottom than at the
top of the tank, so you'll be sliding the replacement onto the tank from the bottom up. Orientation is
key here – the cut plastic will only fit one way, so test it before finalizing.
-
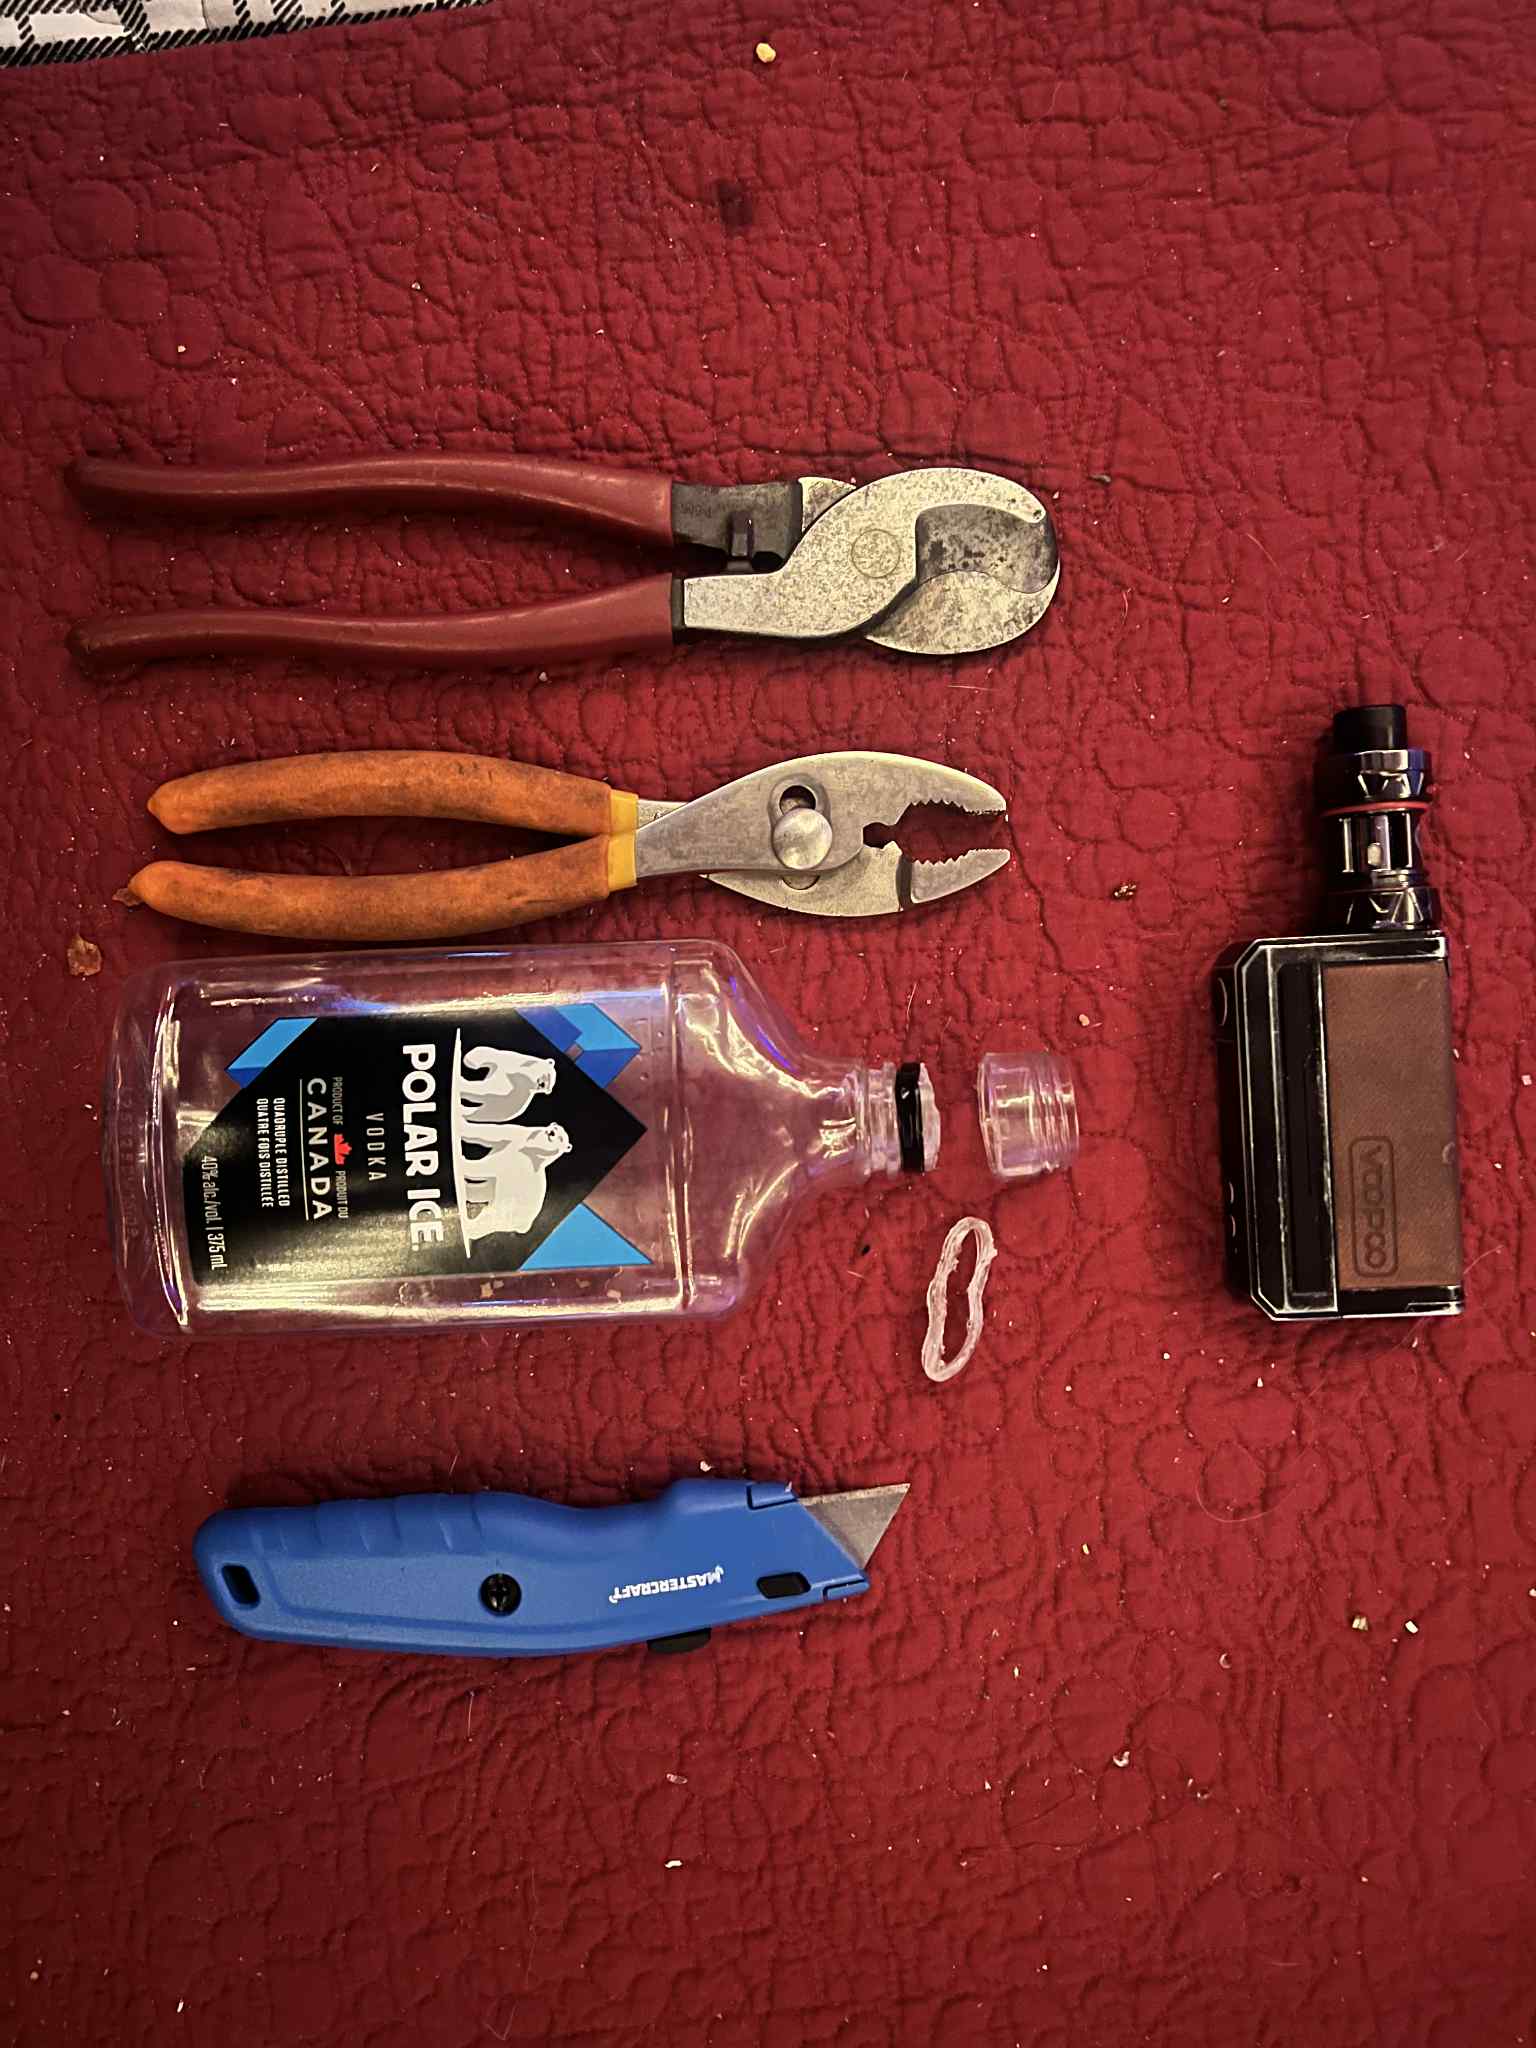
Cut the Plastic Bottle: Grab your plastic bottle and using a sharp knife, carefully cut off the top portion – aim for about an inch, but eye it to match the height you need. Probably good practice to cut a it more than you need, then carefully fit it by making small adjustments. The beauty of this is you can wing it; no precise measurements required if you are relatively accurate. The factory-level flat top of the bottle will become the end that seals against the bottom of the tank. It's absolutely imperitive that your cut edge is flat - any signifigant dips will render the O ring seal to fail
-
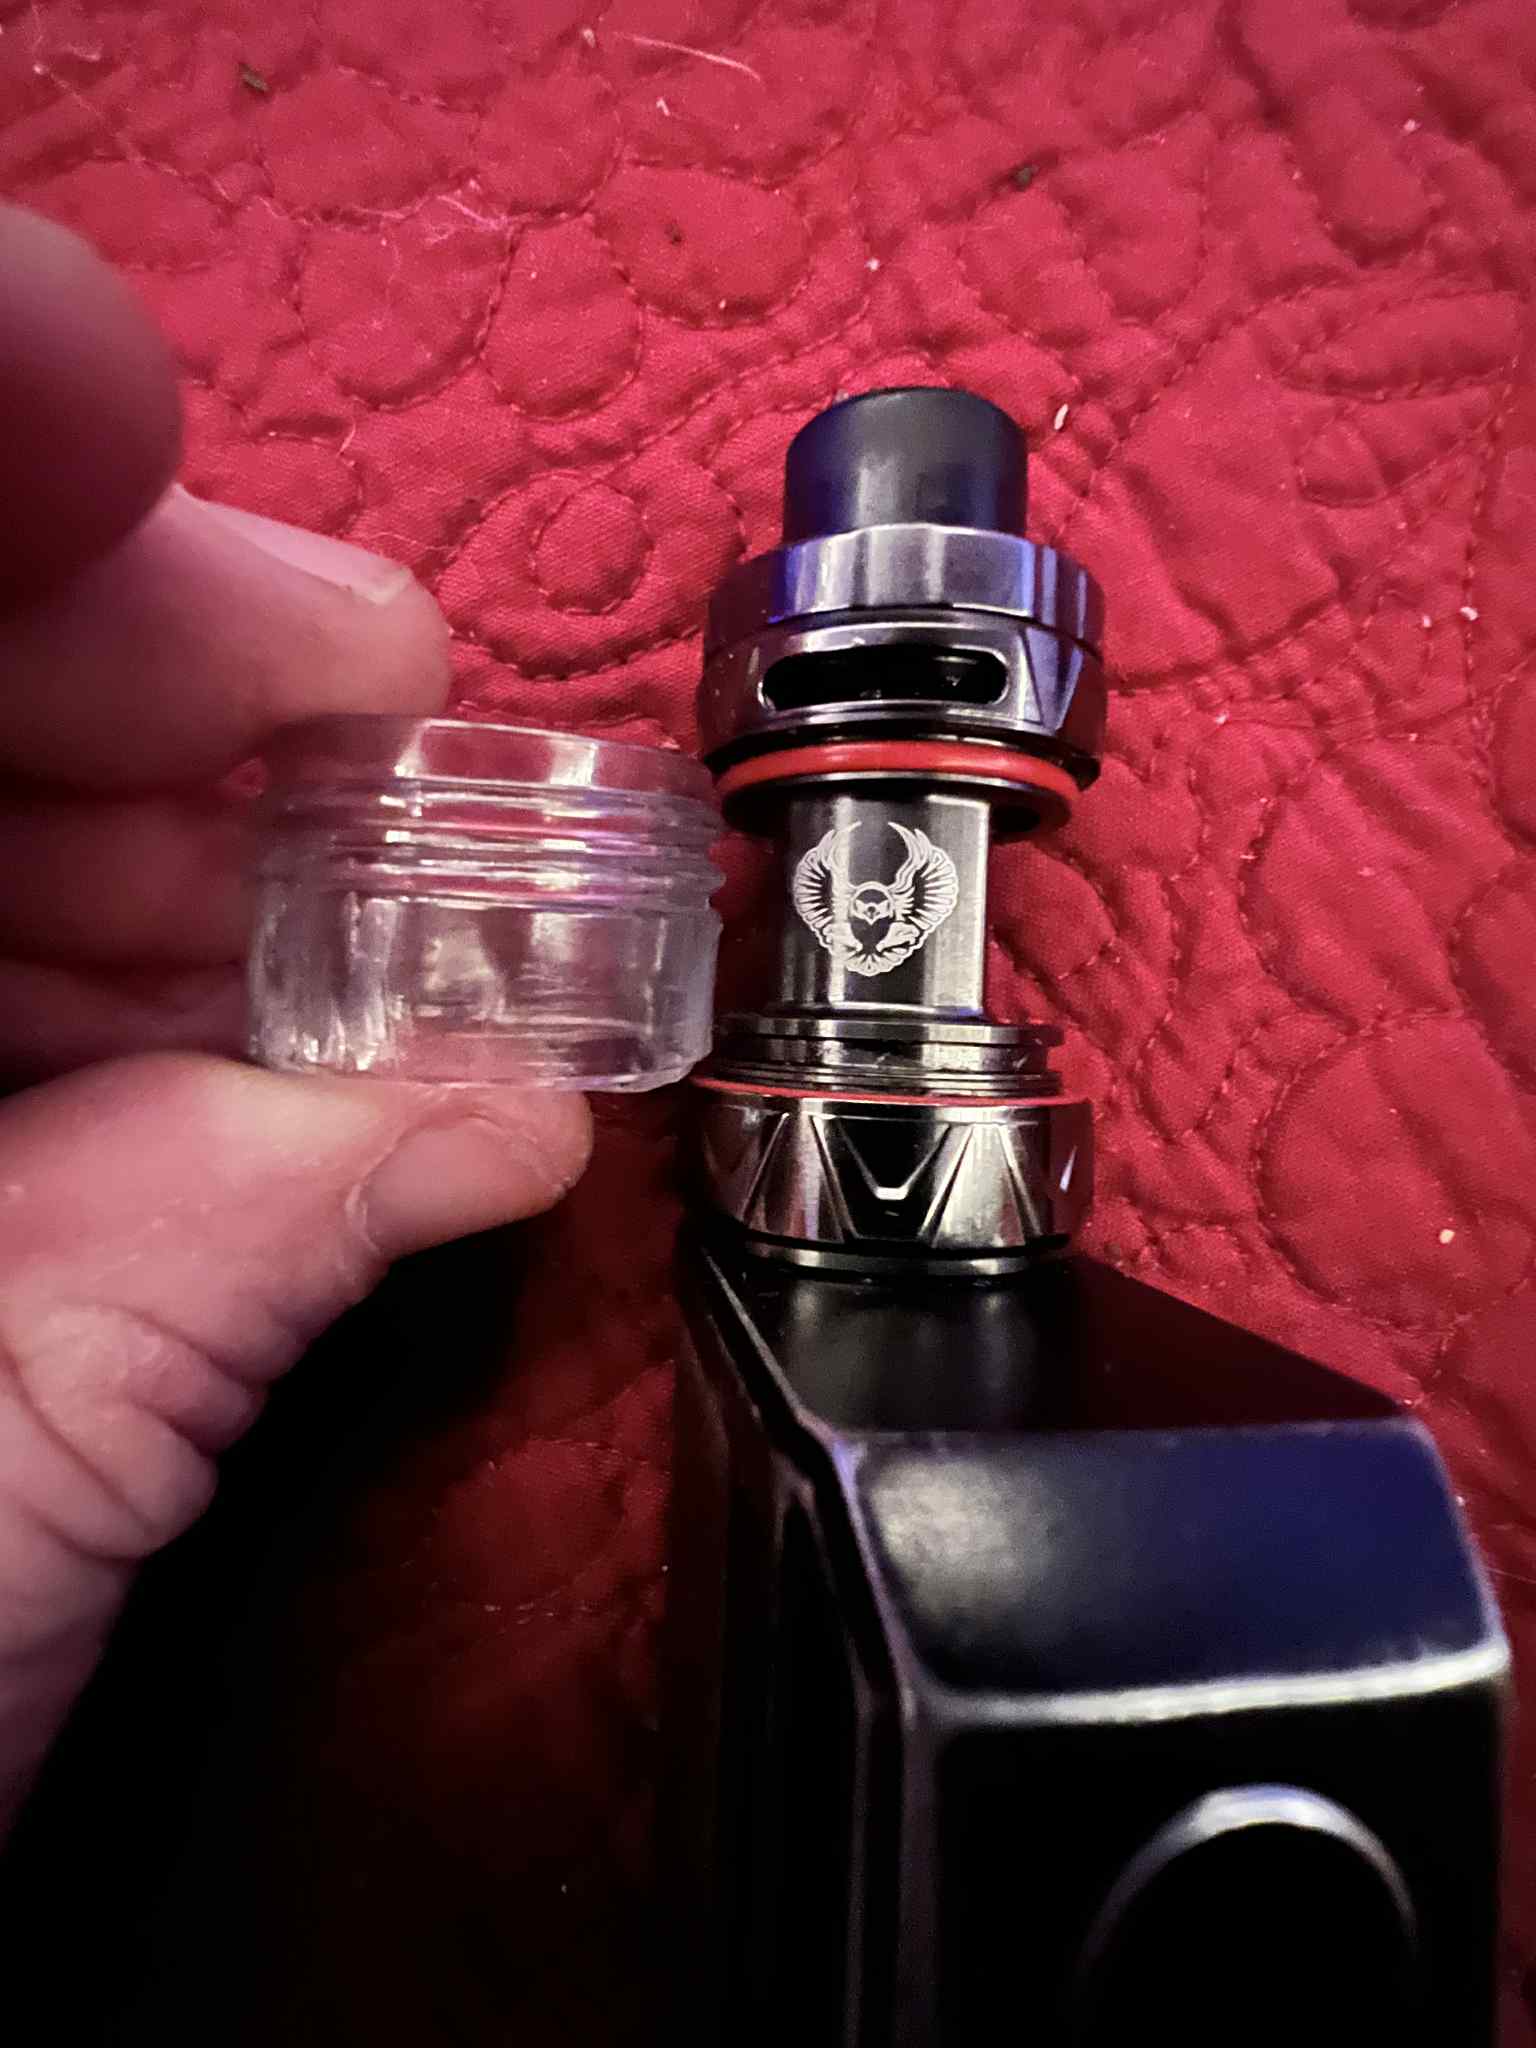
Smooth the Edges: After cutting, there might be some rough or jagged plastic left behind. Be sure to file these down using a file or any abrasive tool you have on hand. This step is crucial to ensure a smooth fit and prevent any leaks or injuries.
-
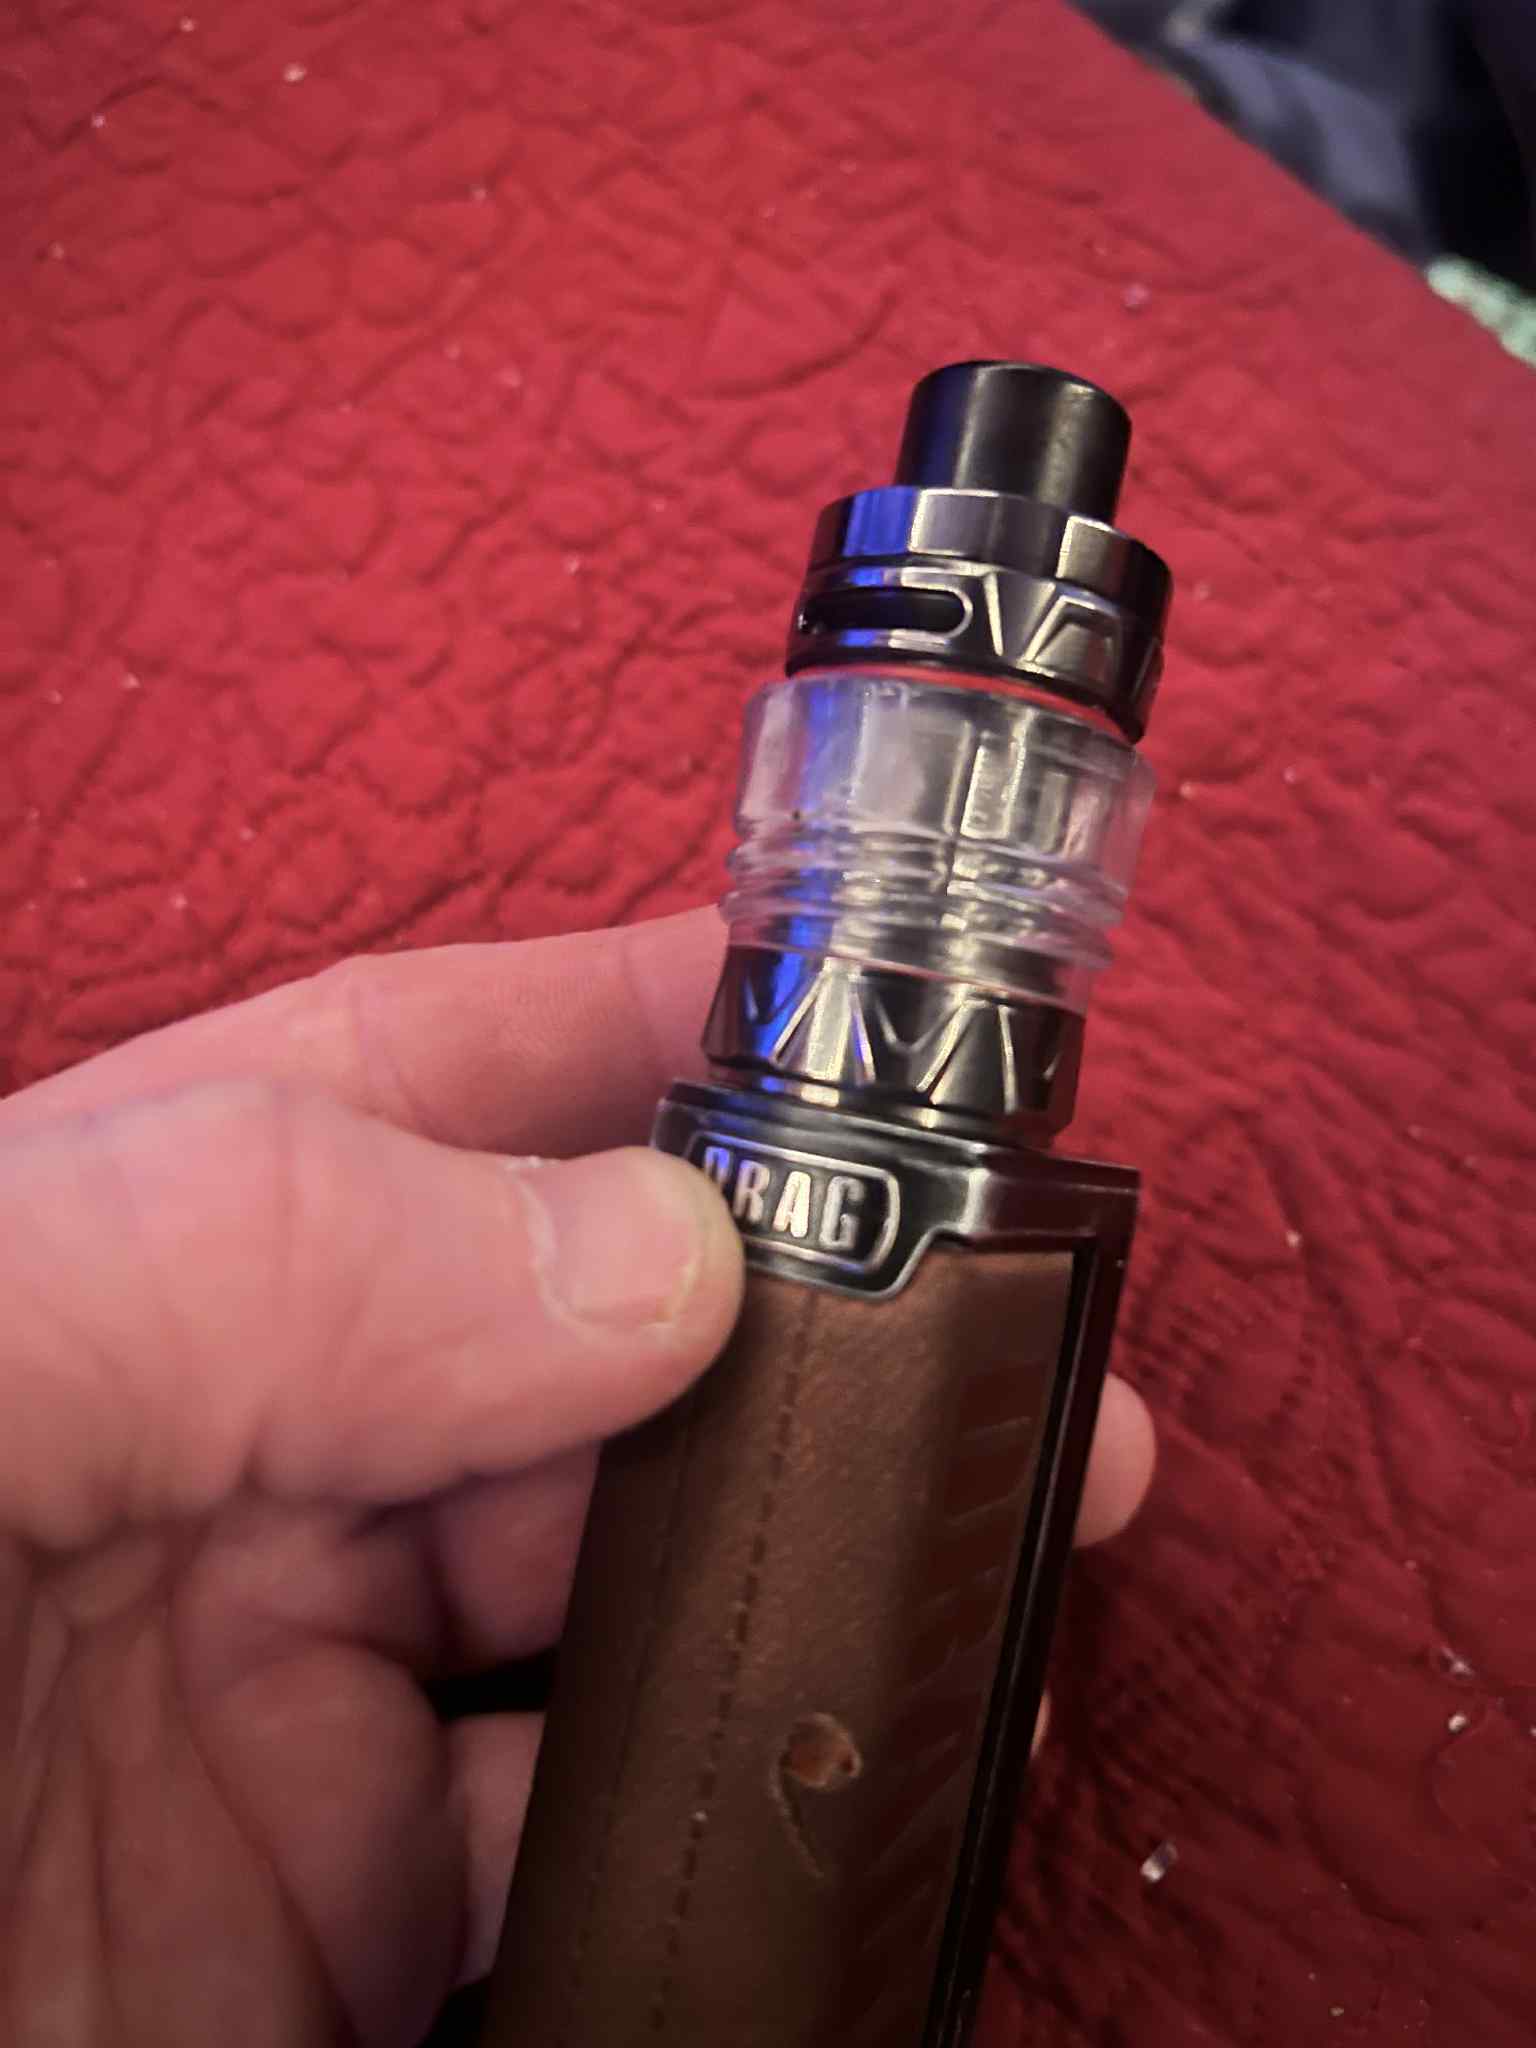
Assemble and Test: Slide the cut plastic piece onto the tank from the bottom, ensuring
the flat factory end is at the bottom for a good seal. When you reconnect the top, it might require a
bit of squeezing, which compresses the seal for that leak-proof fit. In my case, the plastic was a
little deformed after cutting so it was helpful to use a pair of pliers to really ensure it was tight
into the O ring.
Final Thoughts
I get it – official glass replacements for the Sakerz tank are dirt cheap, around $5, and readily available online or in stores. But if you're in a pinch like I was, with no access to a shop at the moment, you can probably pull this off with just a knife and any plastic bottle lying around. Plus, as a bonus, plastic doesn't shatter, so you won't have to worry about replacing broken glass again.